
Hiking Dude Blog
2025 - Aug Jul
2024 2023 2022 2021 2020 2019 2018 2017 2016 2015 2014 2013 2012 2011
01/18/2023
This day was a very difficult, very exotic experience. We hiked around 12 miles, but there are a few differing estimates in our group. The entire day was on indigenous trails through a lush, wild jungle with steep climbs and descents under a canopy of massive trees with vines hanging to the ground. Our guide explained about vines used as ropes to construct huts, nuts as perfume, seeds as spices, and sap as a fire starter. He also shared Spanish words for many things such as mariposa, mapache, and loro. One highlight was watching a sloth in a tree above is.
We had three water crossings, the last being a cable car, as we traversed a handful of mountains with around 4000 feet of elevation.
The trail was treacherously muddy with the majority being a steep drop to a river or climb to a ridge top.
Another highlight was stopping for a snack at an indigenous NaiRi AwaRi farm and befriending a pair of piglets. When we hiked on, these two joined us on the trail for almost a mile.
After riding a cable car across the Pacuare River, our hike ended with a 650 foot climb up to a road where our shuttle can waited. A beer and fresh pork sandwich while the rest of our party arrived was a most excellent way to finish this great day.
We have been shuttled to El Ceibo for our evening rest. This is a quaint 'glamping' spot with very nice screened tents, nice hot showers, and a wonderful staff. We had a great dinner and a bottle of tequila while we chatted about our day.
I love self-supported long distance hiking, but I've discovered that going with a group can be a ton of fun.
Fabian, who owns the tour company ViaLig Journeys that we are using, shared an interesting thought with us this evening before dinner. He said that we should be proud of completing this most difficult day hike of our trek, but to realize that the indigenous people here do large portions of it nearly daily just to go to school or to get groceries.
(Pics on Instagram)
Posted: 01/18/2023
01/17/2023
A van dropped us off at the trail after a great breakfast at the hotel, and the trail/road climbed uphill for most of the day. Plenty of blue sky and hot sun for most of the day and my umbrella was up to the task of keeping me from burning.
When we ran out of gravel, we had slick red mud, and finally a trail when the 'road' ended. Before setting off on the overgrown trail, everyone put their lower pant legs on because this section has a sharp, cutting grass with barbs that grip and rip.
Continuing uphill, the day became warmer and more humid. We worked hard and sweated a lot!
We mostly passed through steep cattle grazing land and rain forest but saw little wildlife. A highlight was seeing a sloth hanging out in a tree right over the trail. But, my favorite was seeing more ant highways where thousands of ants carry leaf bits into the jungle. We also saw 4 beautiful bright green parrots, and about a dozen parakeets. The parrots were extremely loud squawking in the trees. The parakeets were flying as a small flock but they were all flying in obvious pairs. It was very interesting and they were evidently mating couples.
We finally encountered rain at the very end of our day's hike just as we reached our destination at around 2:30. We are 'camping' inside a one room school. It is very simple but clean and comfortable. Two young ladies made us a late lunch of squash soup. We are in the clouds while the drizzle continues and the temperature has dropped a bit.
We apparently hiked 15 or 17km on about 6 hours.
Tomorrow, we have a much longer hike and are planning to get up and going at 5am. So, tonight is early to bed after yet more food!
You can see our route at Hikers Social
(See Instagram for pics of the day)
Posted: 01/17/2023
Today's route took us through the coastal flatlands dominated by banana fields. In the afternoon, we entered the first low hill country with fields of pineapple.
The entire ~23km hike was on roadway, mostly gravel and dirt with very little traffic. So, it was another gentle day with no rain, but the heat and humidity were noticable.
One of our group had their luggage misplaced by the airline and she is handling it quite well. Other than that, it appears we are all doing well.
We had a big breakfast and big lunch, supplemented with a rest breaks every couple hours where a support van with cold drinks from a cooler met us along the route. I'm getting terribly spoiled for future long hikes.
The hike ended with a van ride to a hotel at about 4:30. After a hot shower and nice dinner - yet more food - we slept in a cool, air conditioned room
01/16/2023
A 4 hour drive from San Jose to our start point was followed by a 45 minute boat ride down canal and river to a nature refuge on the Caribbean Sea. On the ride, we saw a green basilisk, monkeys, a crocodile, heron, and many other birds.
Our guides Samwell and Stephen are in charge and we met Mike to guide us these first 6km through the refuge. He works at the refuge and it seems his main job is to make sure we don't get killed by snakes.
We walked north through jungle paralleling the coast and could hear waves breaking the entire way. A very wide nice flat trail was gentle for walking, and we saw a yellow viper, white viper, and dead snake. Also, a sloth, monkeys, ants, a few butterflies, and a big frog. Plenty of wildlife on our first day!
At the end of our walk, we went to the beach and the sea was looking very angry today. We stepped into the ocean to start our hike west. The water was very warm.
A very short walk to a dock on the river followed by a loud whistle resulted in a quick boat ride across to our lodge for the night. It just started drizzling while crossing.
This lodge is a small place with 3 or 4 cabins so the women are in one and the men in the other - and, since we're the only couple, the two of us get the third. Rustic with only screen windows, but clean and nice.
It was nice getting a little time to chat with the other 7 people in our group today. It's a wide range of ages, nationalities, experience, and personalities so I'm looking forward to more trail conversations.
Our hike was about 2.5 hours at a leisurely pace. We arrived around 4:45pm and dinner was at 6:30. Dinner was like Asian stir fry with rice. Nice open gathering area like picnic shelter. Sat around chatting for a couple hours. But, since it gets dark by 6 we were in bed to sleep by 9:30.
(Please check the Instagram pics on the home page for photos of the days)
Posted: 01/16/2023
01/12/2023

14 days of hiking from the Caribbean to the Pacific across Costa Rica from Limon to Quepos. It's the dry season there now, but weather craziness has forecast about 6 inches of rain while we're there - about 1/2 inch per day. But, it's a warm rain with temps into the 80s.
So, I'll post when I can, but with so much rain maybe not many pictures - we'll see. It will definitely be an adventure of about 180 miles through a new country! Unfortunately, I googled about snakes, spiders, and dangers of Costa Rica yesterday - bad idea.
You can follow our progress at Hikers Social - a site my hiking buddy son is putting together.
You can read more about the Camino de Costa Rica.
Hike On!
Posted: 01/12/2023
01/03/2023
 (2022 on West Coast Trail)
Wednesday, Jan 4 (that's tomorrow!) at 3pm CST, I'll be chatting live on Instagram with Rob of Granite Gear (@granitegear). I met Rob on the Superior Hiking Trail this fall at the Hazel campsite. I don't know what we'll talk about, but I expect it will have something to do with hiking.
Granite Gear is a cool outdoor equipment mfg with facilities in Two Harbors, MN. They make some great UL backpacks and are very supportive of inclusive outdoors efforts. I stopped there to say Howdy after hiking the Border Route Trail and SHT this fall, and got to chat with Natalie a bit.
 (Here's Rob!)
They sponsor an annual program called Grounds Keepers. They provide a small army of outdoors folks that sign up to participate with gear from various co-sponsors. In exchange, the Grounds Keepers put in extra effort to clean up the trails, waterways, and paths they travel on throughout the year, and report back on their results.
I was a Grounds Keeper a couple years ago and had a blast tracking all the trash I collected - disposable vape devices were surprising common to find. :-( Since I teach Leave No Trace as a Master Educator anyway, being in the program didn't change my practices much, but it was fun to check in with the other participants and be part of the gang.
Anyway, I'd love it if you dropped by and left a comment in the Granite Gear live Instagram feed while you're there. I do know you can still view some of their previous episodes with some much more interesting folks than me!
Hike On!
PS: Rob tends to give away some Granite Gear gear to someone in the live chat - nudge, nudge, wink, wink
Posted: 01/03/2023
11/15/2022

This Saturday, November 19, at 11:45am I'll be presenting about our West Coast Trail hike at the Midwest Mountaineering Outdoor Expo in Minneapolis.
It's just an hour and my wife will be there to fill in the important bits that I forget to mention.
There are many other interesting hour-long presentations throughout the weekend, so check 'em out!
Hike On!
10/31/2022
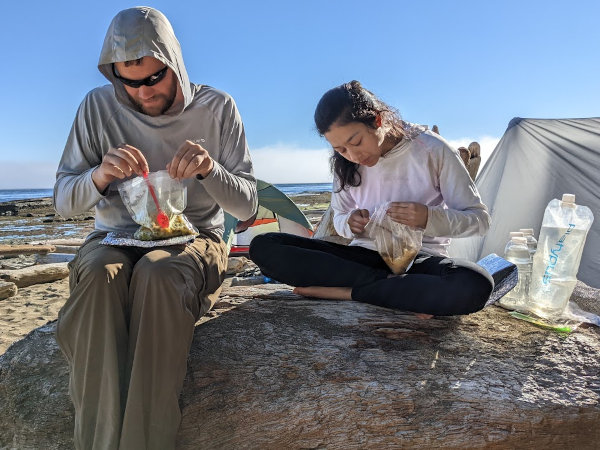
How well do you eat on the trail?
Are you a Grazer, nibbling on bits of snacks from a bag as you hike along all day? Or, a Three Square Meals kind of guy, taking the time to prepare a real breakfast, lunch, and dinner each day? Most likely, you're somewhere in between with a quick, hot breakfast, simple lunch, snacks through the day, and finishing with a cooked meal at camp.
For the past ten years, I've mostly been a Grazer, not wanting to sacrifice miles to stop and make meals. I tend to keep moving as long as the sun is up. Now that my wife has joined me, we've decided to take the time to heat water for coffee or cocoa in the morning and make hot meals for dinner. I must admit that taking the extra time is definitely worth the couple miles of trail missed.
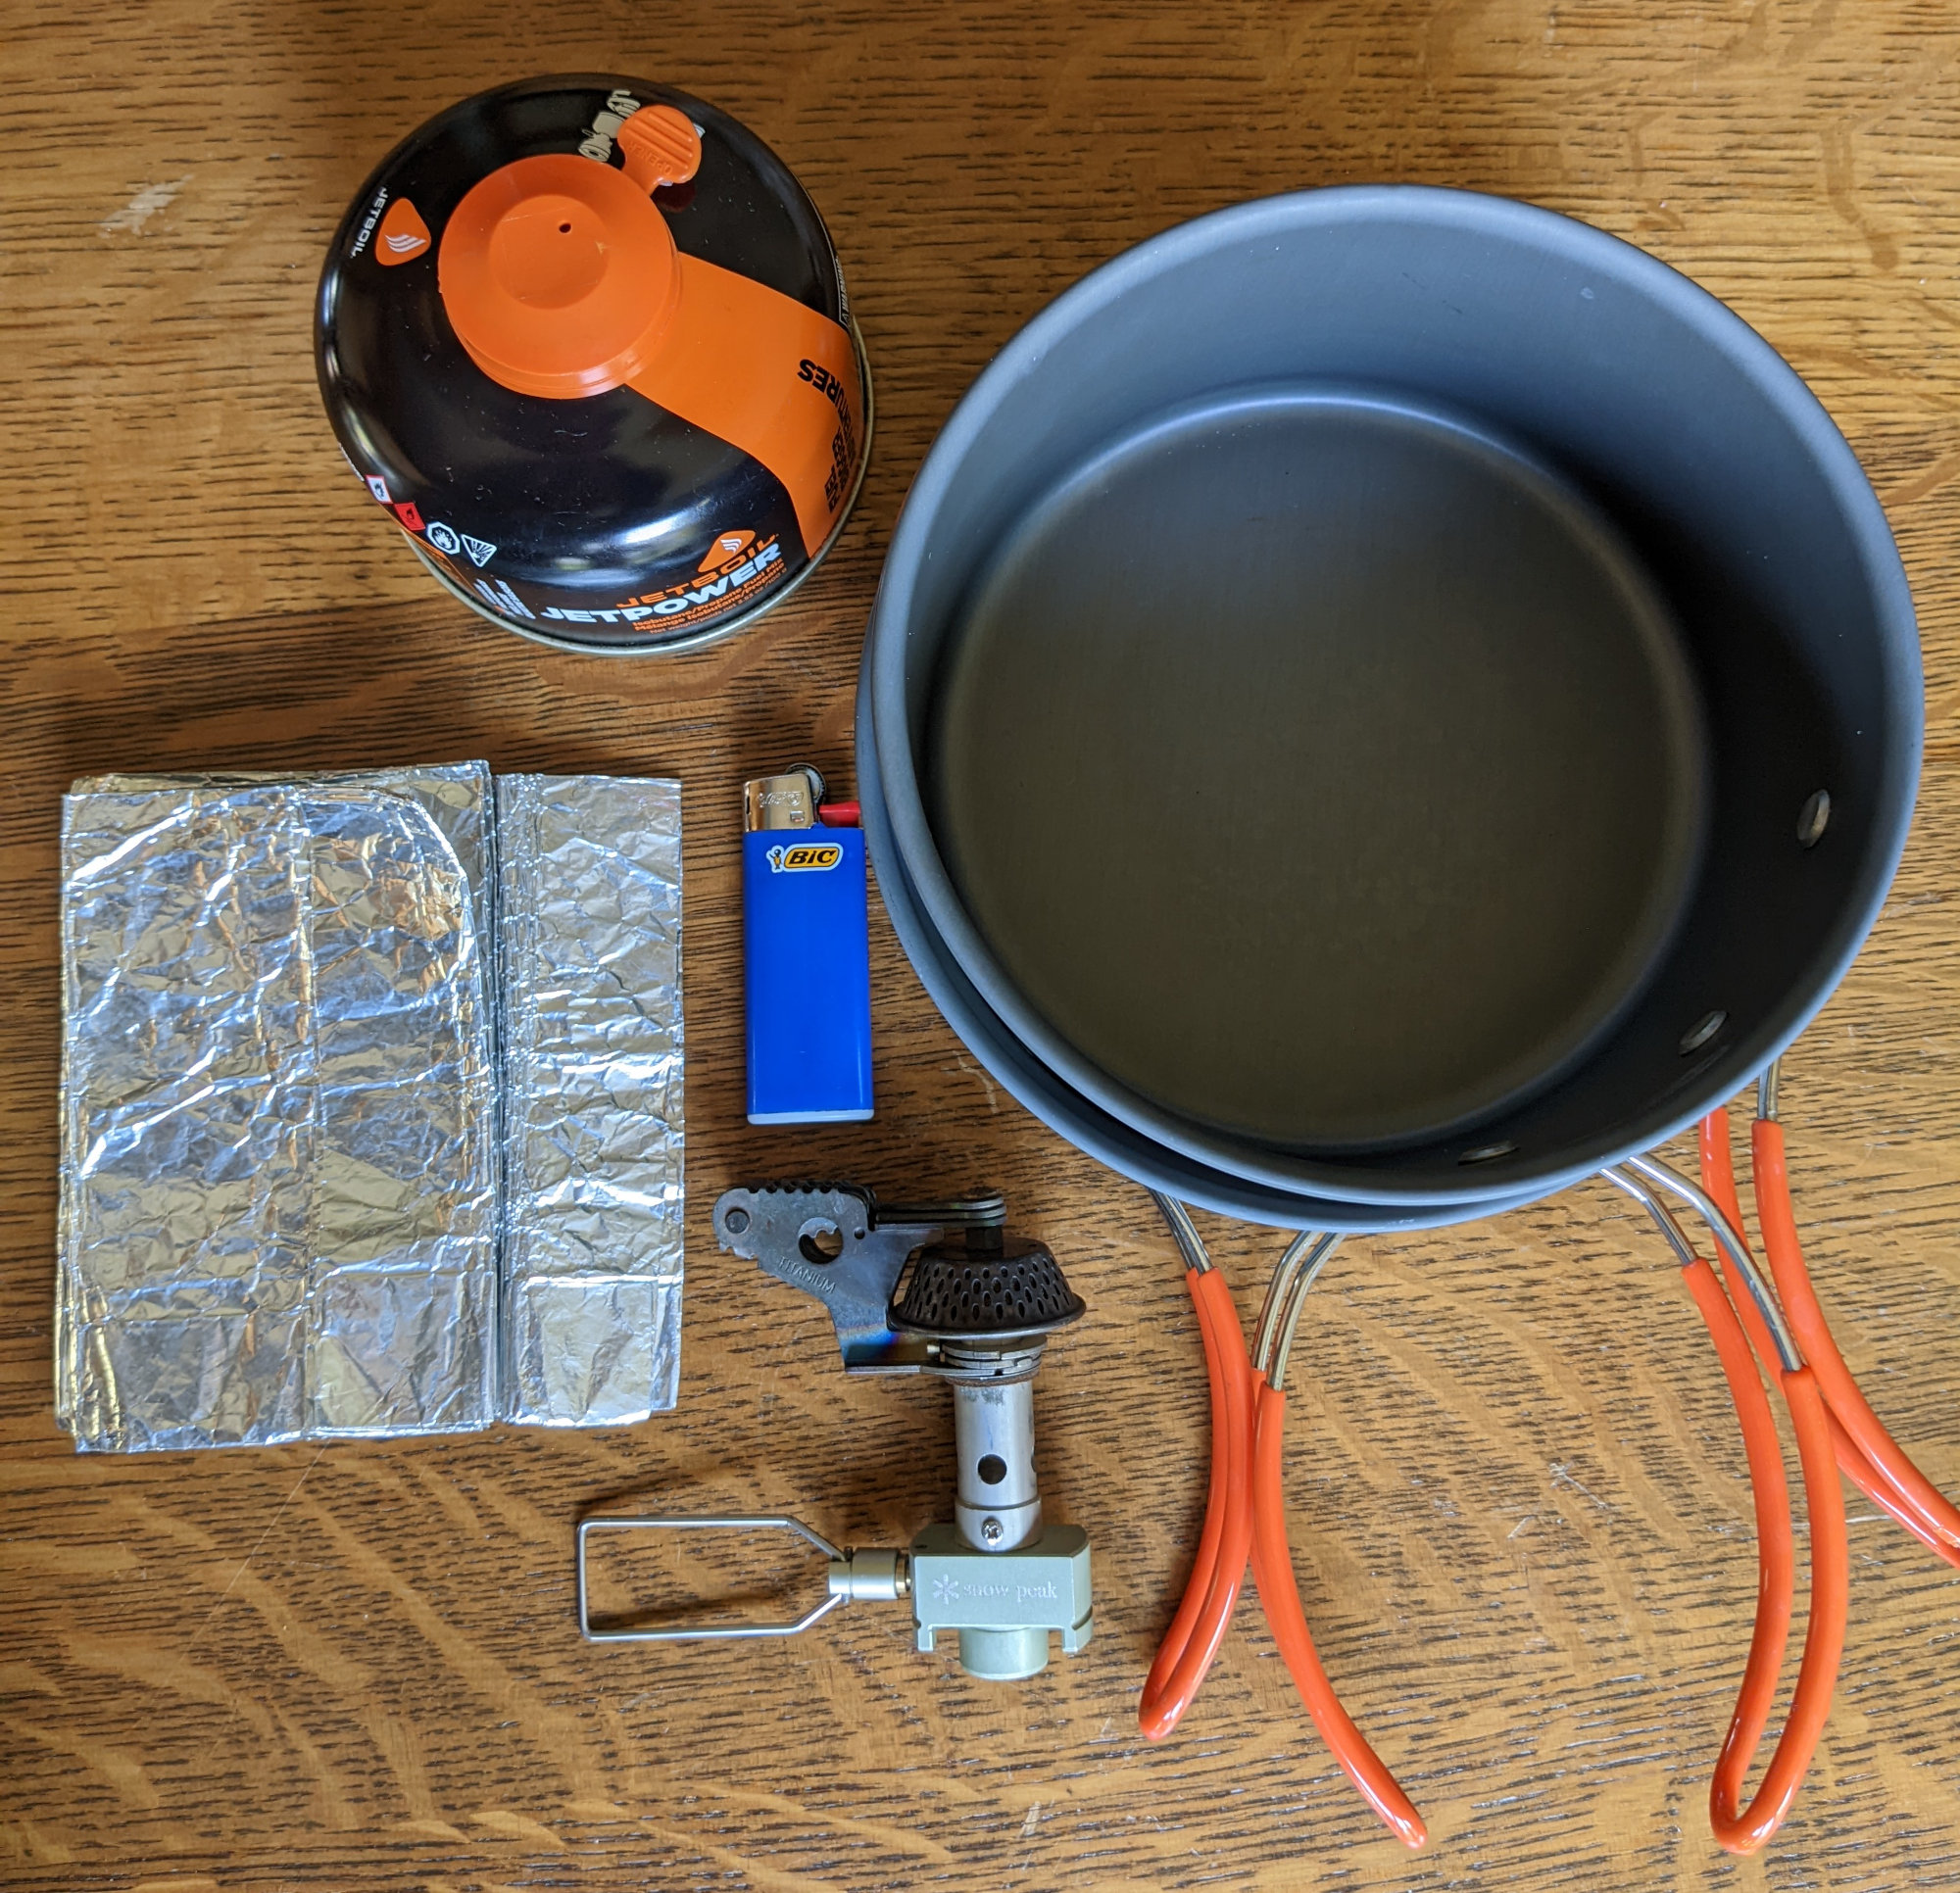
Resigned to the extra effort of carrying the food, stove, fuel, and cook kit, I still want to be as efficient as possible with our food system. So, I came up with these goals to meet with whatever meals we decide to use:
- hot meals - this rules out no-cook and cold-soak styles. We want the warm feeling of hot food.
- variety of flavors - not the same meal day after day. One big bag of ramen noodles isn't good enough.
- healthy - use minimally processed ingredients as much as possible.
- minimize cooking effort and time - we'd like to be able to prep, eat, and clean up in 30 minutes or less.
- minimize trash and clean-up - this mostly means we'd like to only boil water in our pot and eat the food out of the bag it is cooked in.
- minimize fuel use - long simmering times kill fuel. Just quickly heat water and rehydrate is better.
- minimize cost - prepackaged meals are easy, but expensive.
- minimize chemicals, preservatives, and packaging - simply dried ingredients rather than highly salted and chemically preserved would be better.
- minimize carried food weight - the higher calories per ounce, the better.
Just Buy Them
It's easy to purchase meals from Alpine Aire, Backpacker's Pantry, Good To Go, Mountain House, Peak Refuel, RightOnTrek, and other brands. You get hot meals quickly with little trash. Unfortunately, there is often a lot of salt and chemicals, the flavor is defined for you, and the cost is high.
Researching a few brands showed that Mountain House averages about 43 calories/$1.00 and 122 calories/oz. while Good To Go averages about 50 calories/$1.00 and 107 calories/oz. The others are in the general ballpark.
We hoped to do better.
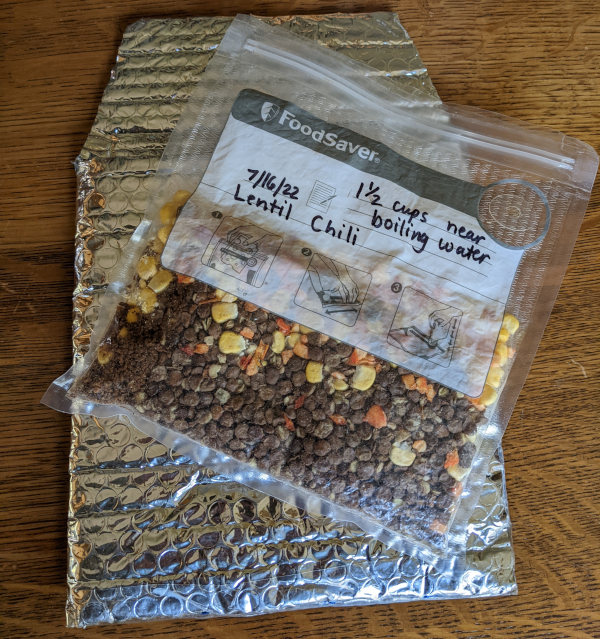
MYOM - Make Your Own Meals
To save cost, get a custom fitted item, and have a sense of accomplishment, some hikers do MYOG (Make Your Own Gear). I've made quilts, shelters, packs, and other things. It's great.
For the same reasons of saving cost and getting the exact food we want, we decided to Make our Own Meals. A meal typically includes a carbohydrate base, protein source, vegetables, and spices. It turns out that a lot of the ingredients can be easily found at regular grocery stores, but dried and freeze-dried items can be bought online in bulk for less cost.
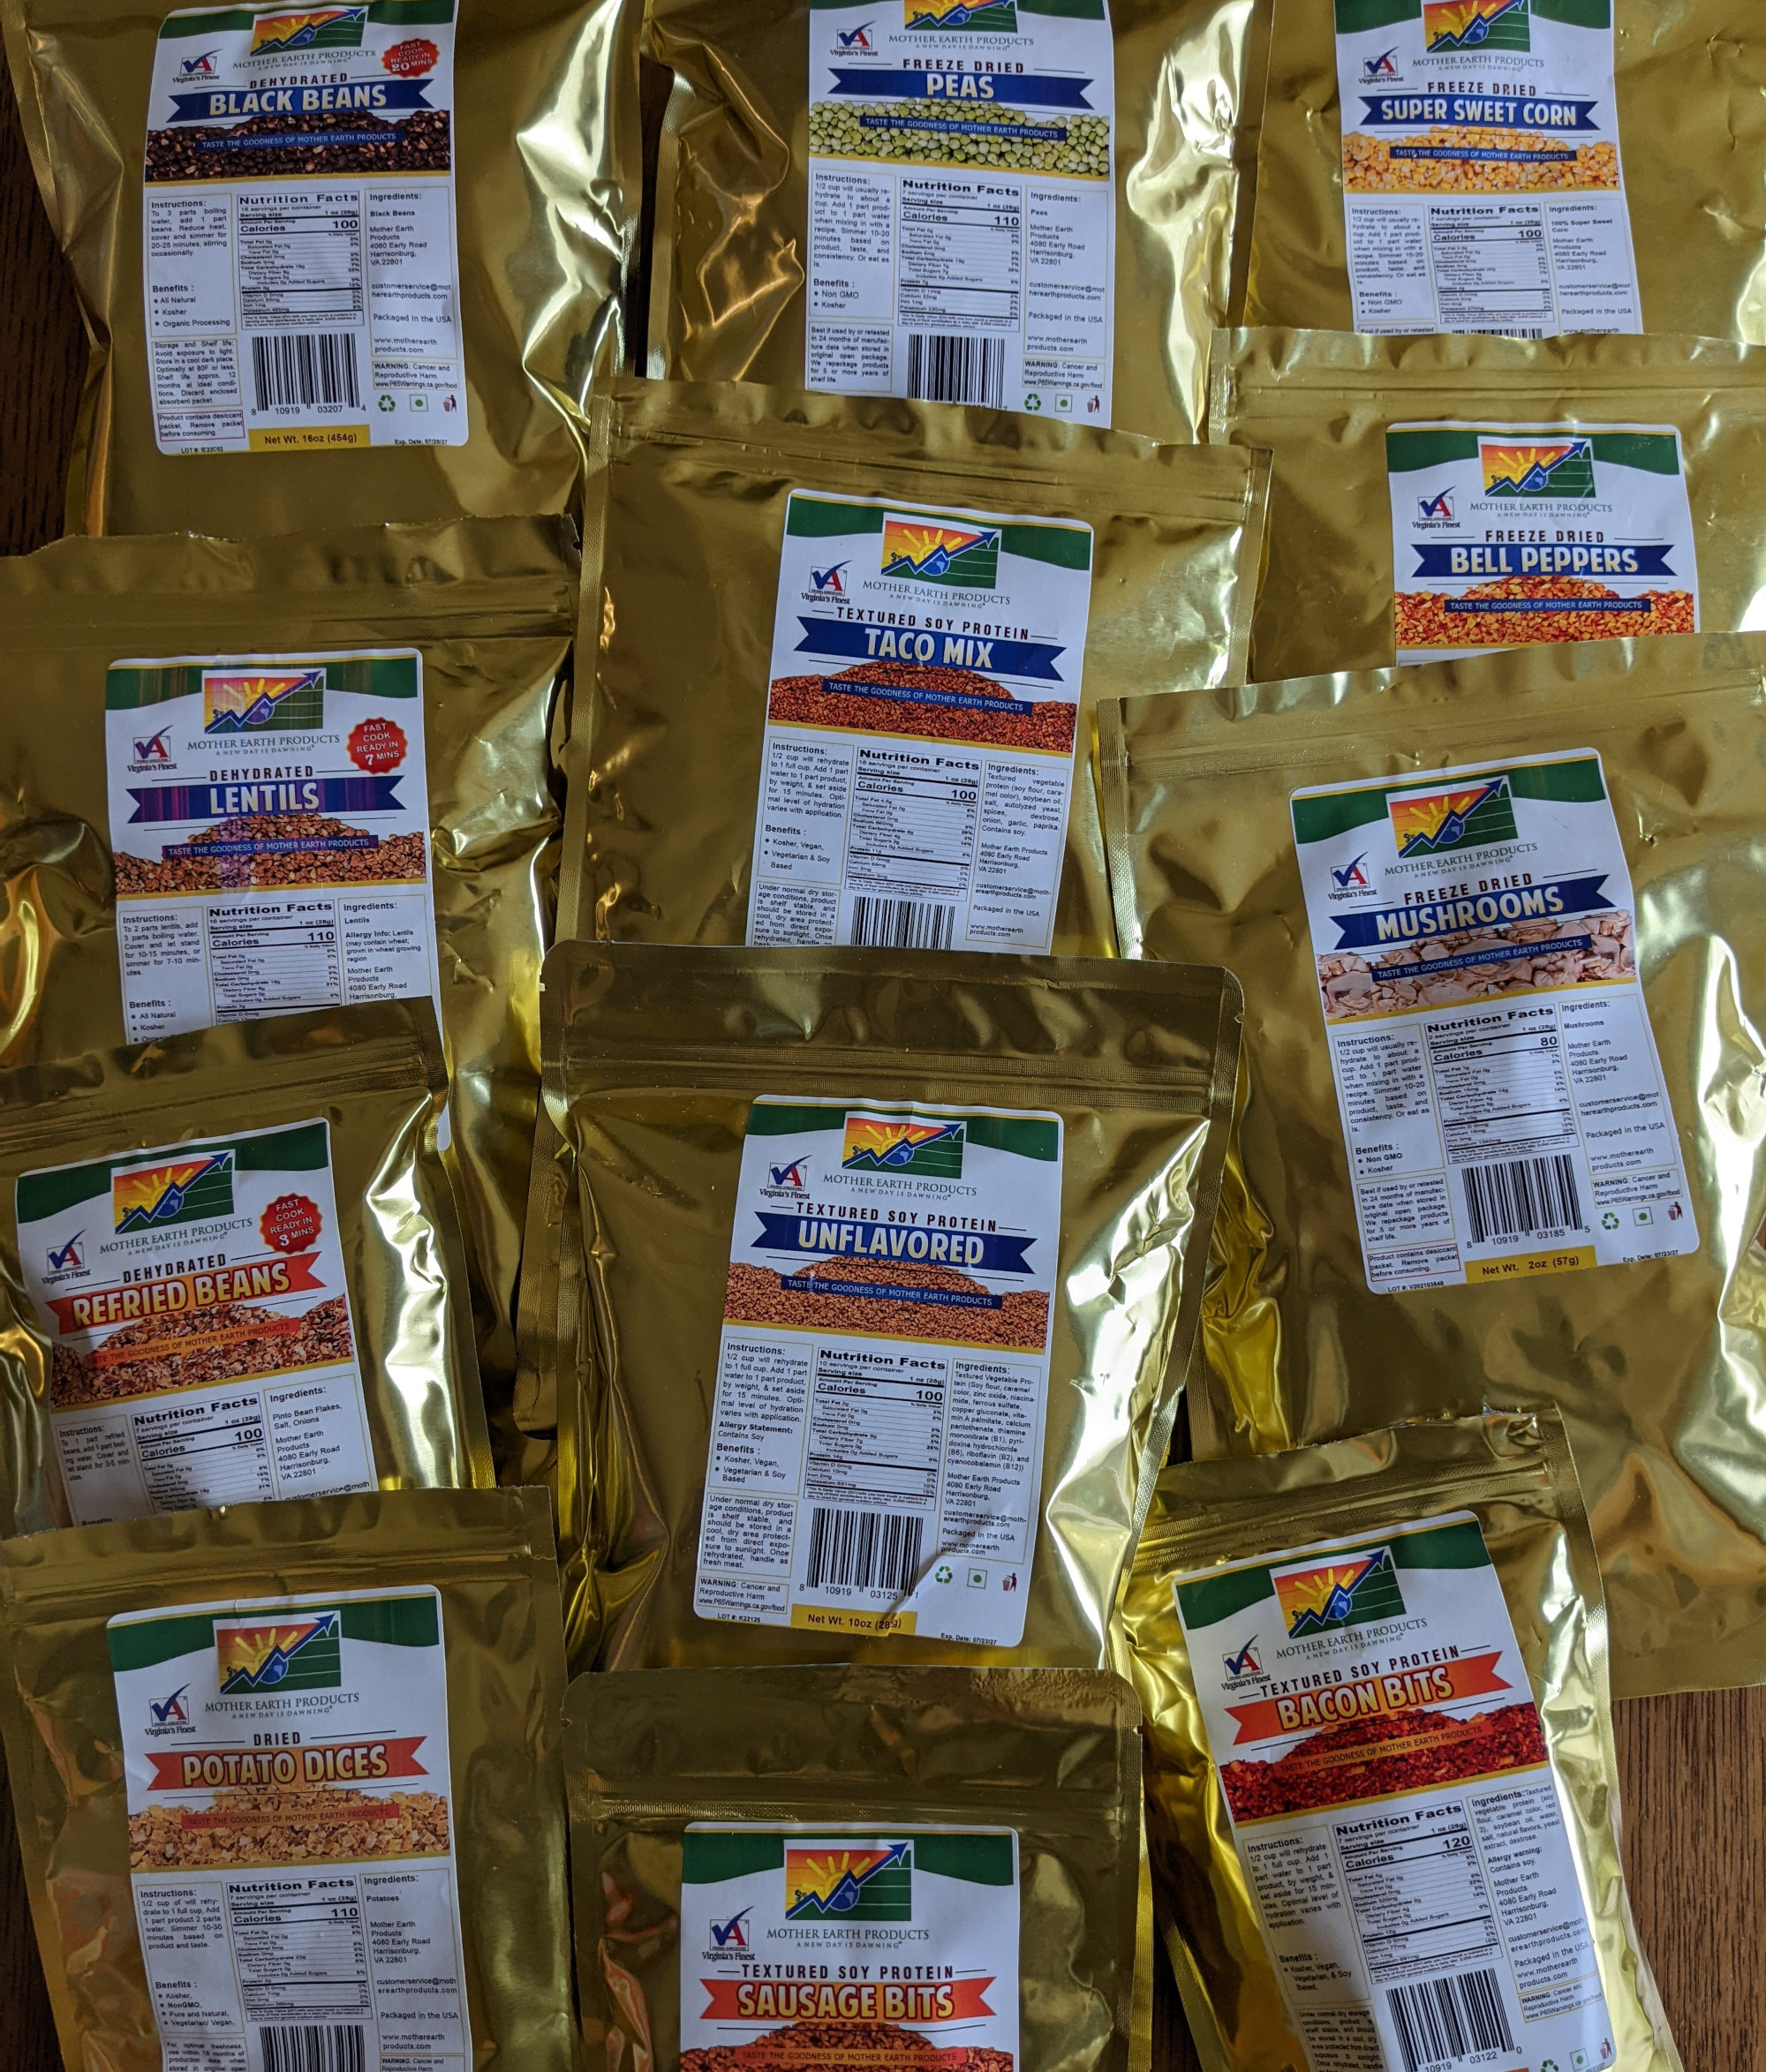
After checking out quite a few freeze-dried sources, I settled on Mother Earth Products as the best spot with a wider range of product at a lower price than others. We've now made nearly 100 meals using their ingredients and are very pleased with the results.
Creating a Meal
I believe a MEAL needs to provide nutrition and calories, taste good, and fill my stomache. A bowl of rice might fill me up, but doesn't provide much nutrition or taste. So, with a broad selection of ingredients, it's up to you to combine them into meals that sound good to you. Here's how we did it: (and all of these are dried or freeze-dried items)
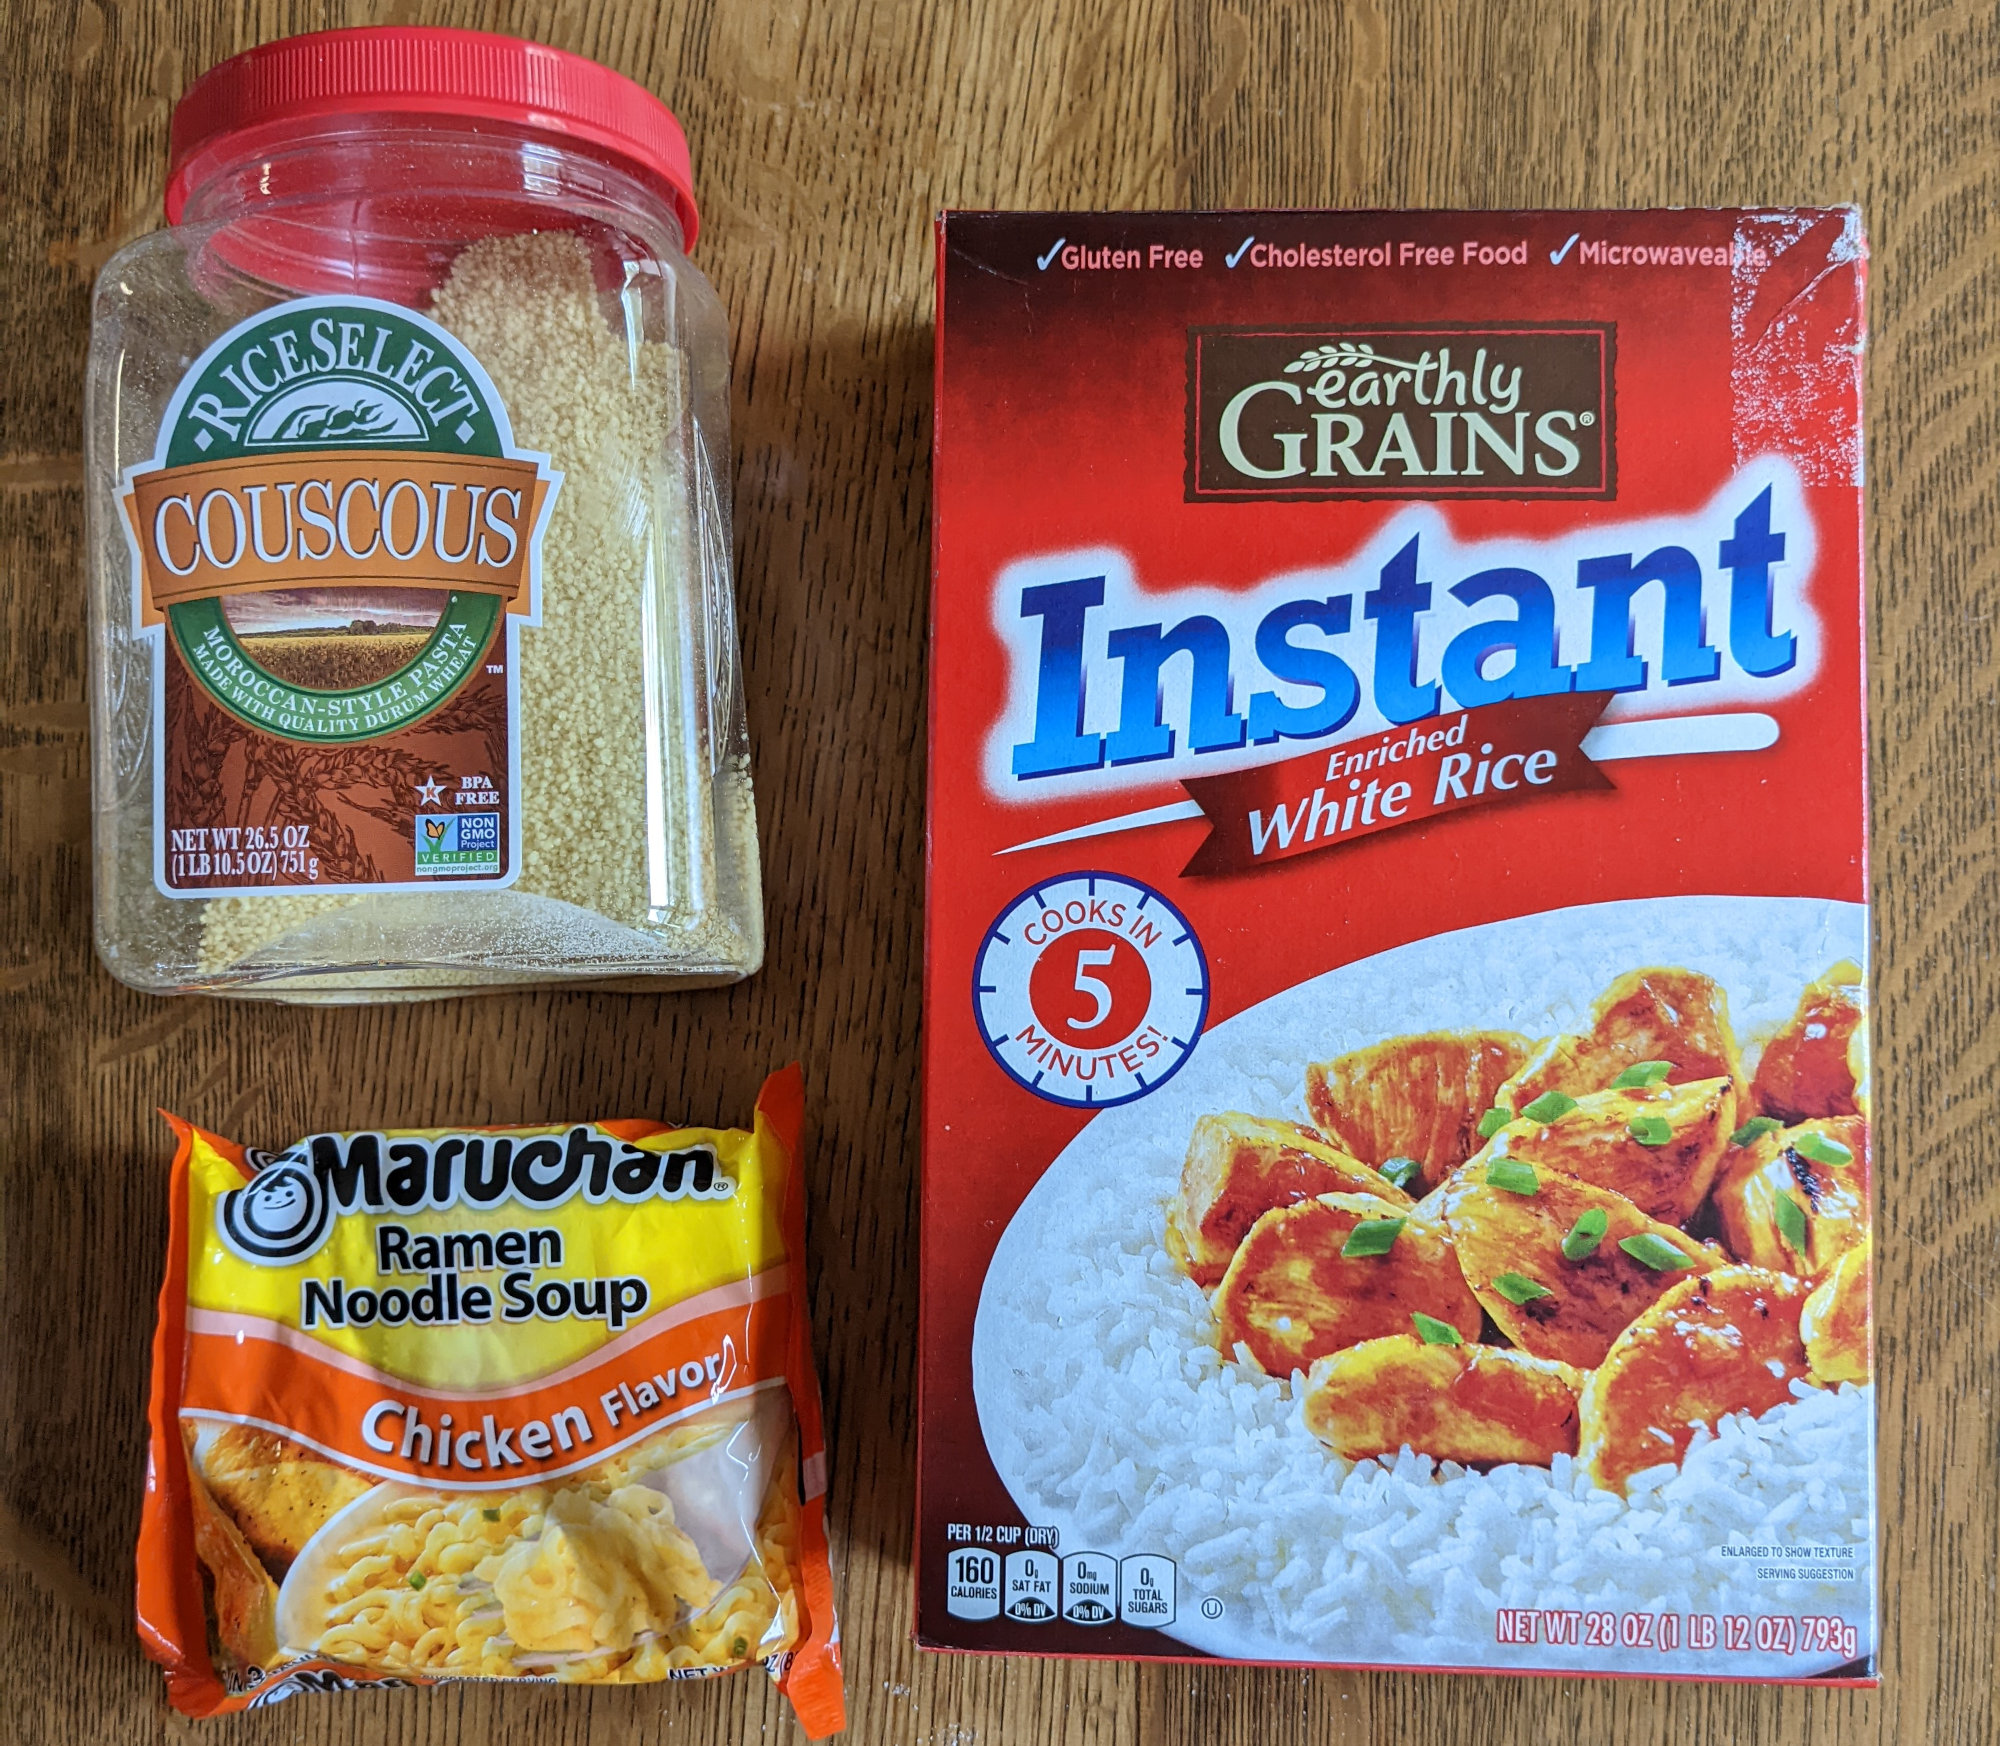
- Start with a BASE. This gives the general texture and form to the meal, and is typically a carbohydrate.
- instant rice
- ramen noodles
- mashed potatoes
- couscous
- lentils
- refried beans
- split peas
- stuffing mix
- Add a PROTEIN. Drying cooked ground beef works well, but we are using textured plant-based protein. The main plant protein sources are soy, wheat, or pea - we used soy. Mother Earth offers protein crumbles in various flavors:
- taco
- beef
- chicken
- unflavored
- Add VEGETABLES. Here is where you start setting the color and look of the meal, as well as flavor
- corn
- peas
- bell peppers
- onions
- carrots
- mushrooms
- black beans
- Add SPICE. Make things as bland or snappy as you like. Maybe just salt and pepper in a potato, chicken, corn, and pea meal, but plenty of taco seasoning in a ramen, beef, bell pepper soup. Absolutely anything out of your spice rack is fair game, including garlic, cumin, chili powder, cayenne pepper, dry ranch dressing, and so on.
Assembly and Packaging
When combining the ingredients, it may not look like enough for a meal since everything is dry. When hot water is added, you might be surprised at how filling that tiny, light bit of food becomes.
So, check the calorie information and serving size for each ingredient. Typically, a serving size for freeze-dried ingredients is 1 ounce (28 grams) and the carbohydrate base is twice that much. And, in general, there are about 100 calories per ounce.
Using an accurate postal scale really helps since the volume of some items changes more than others when dried. A typical meal includes two servings of the base, one serving of protein, and a half serving or so of each vegetable.
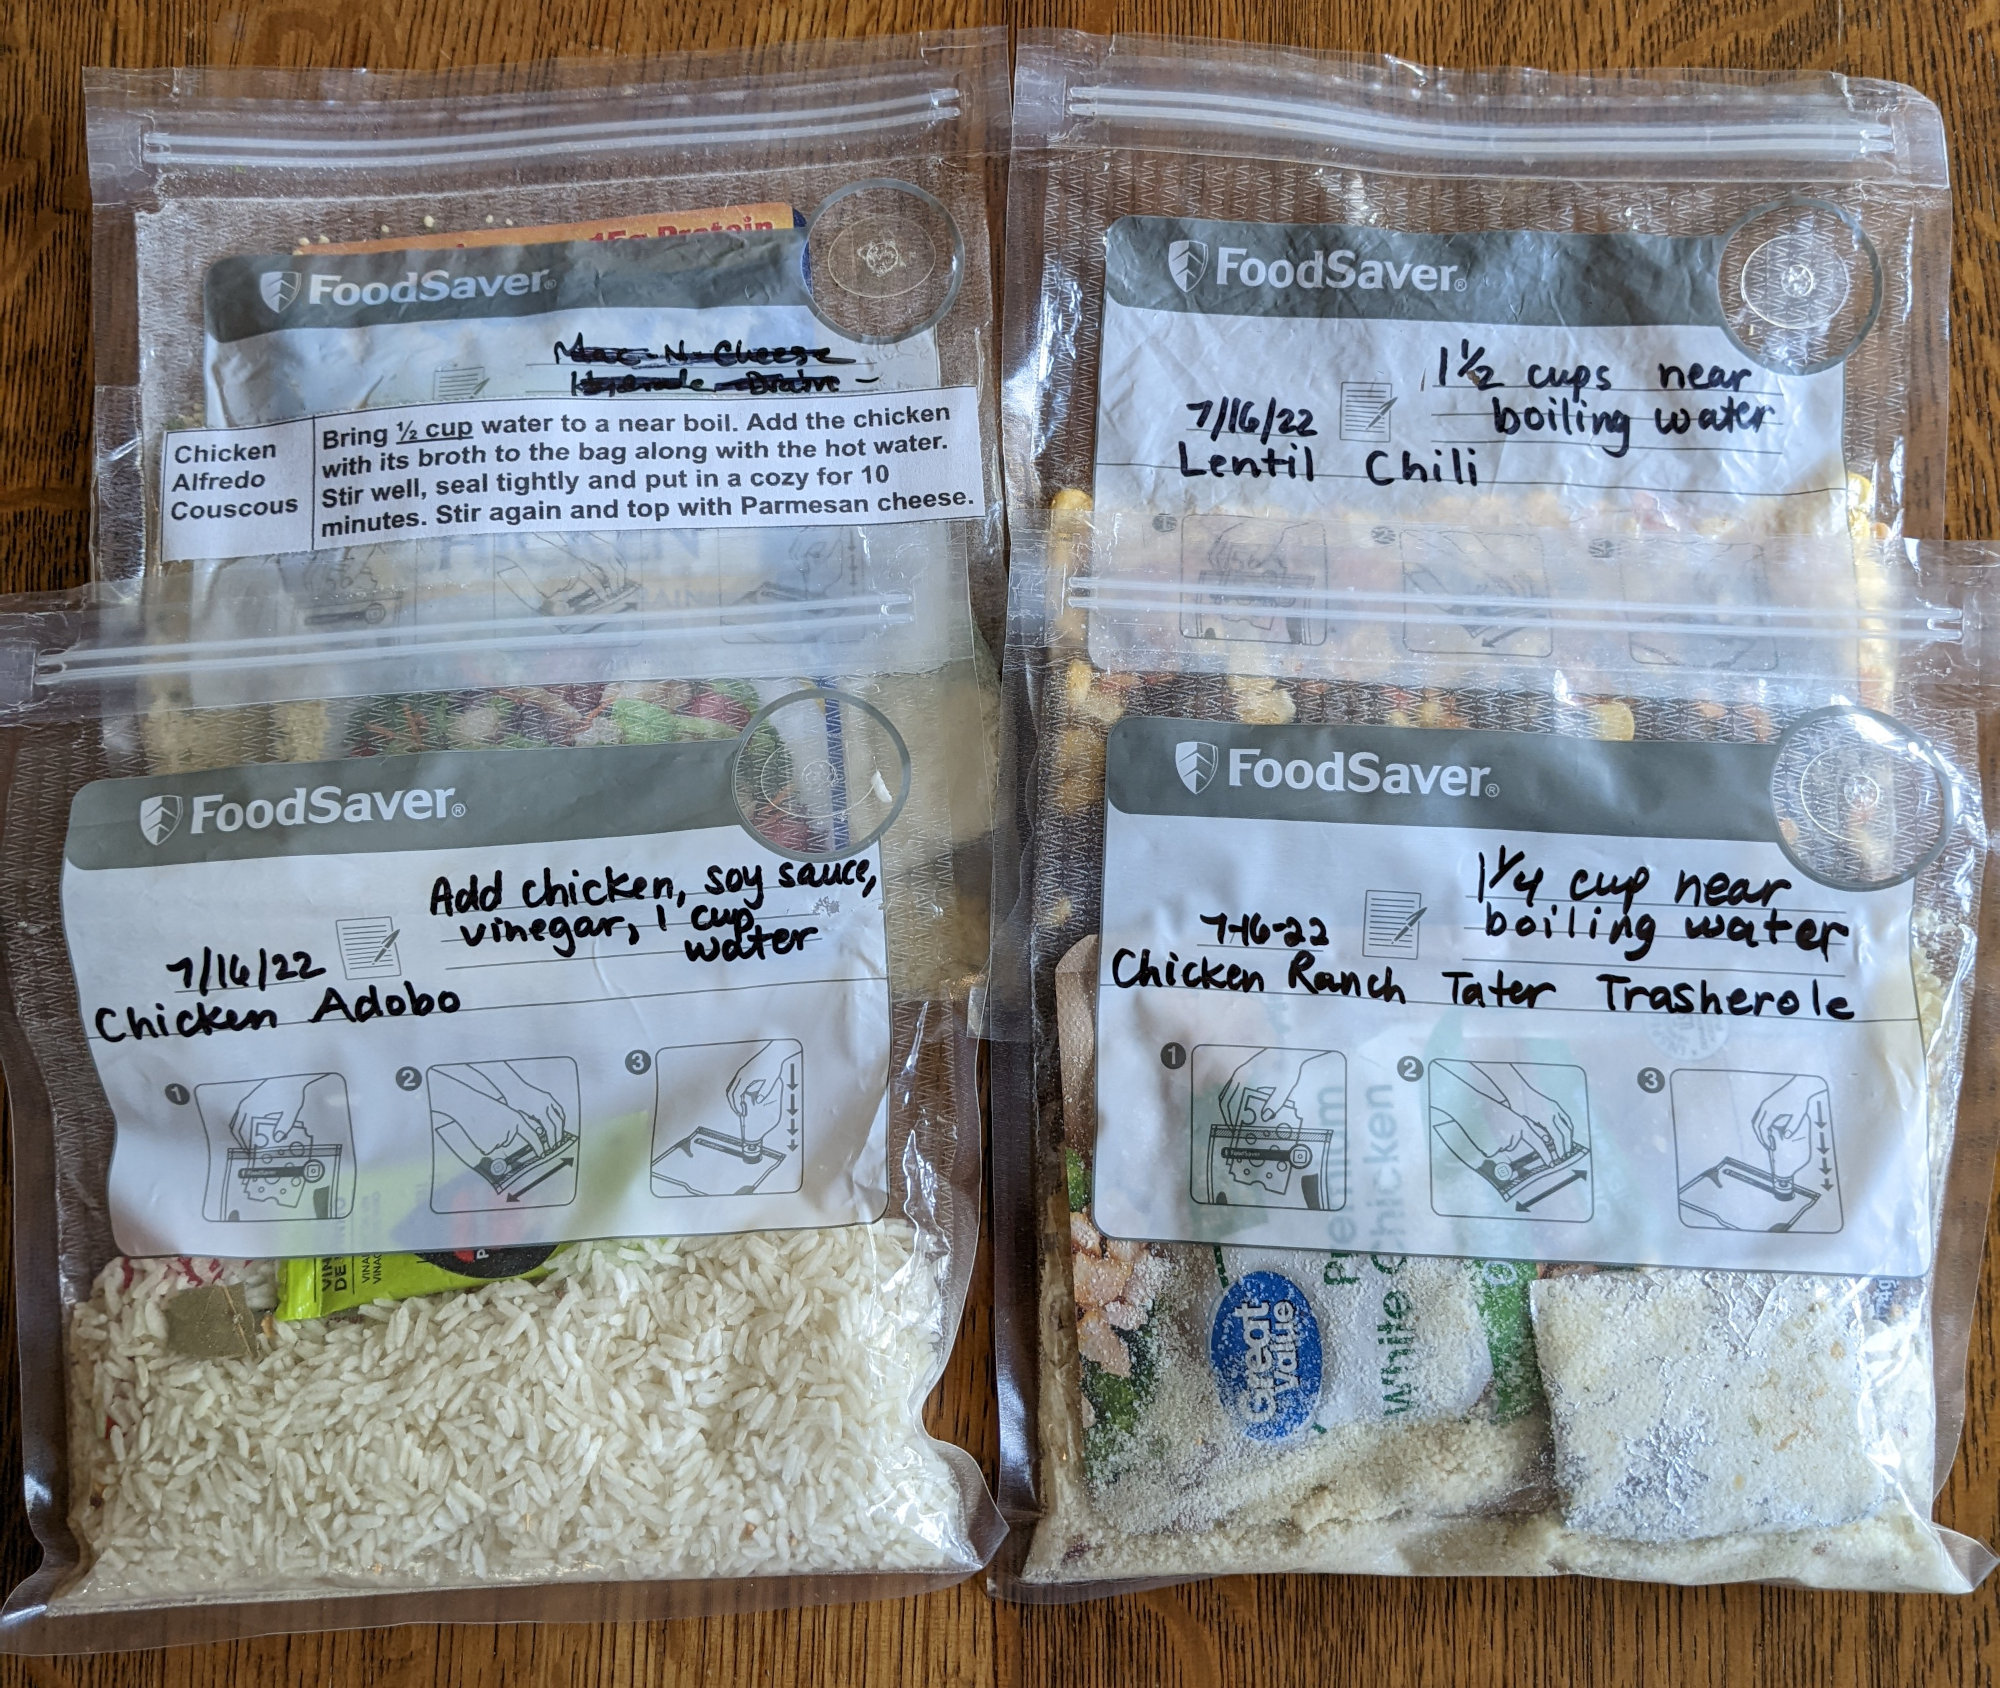
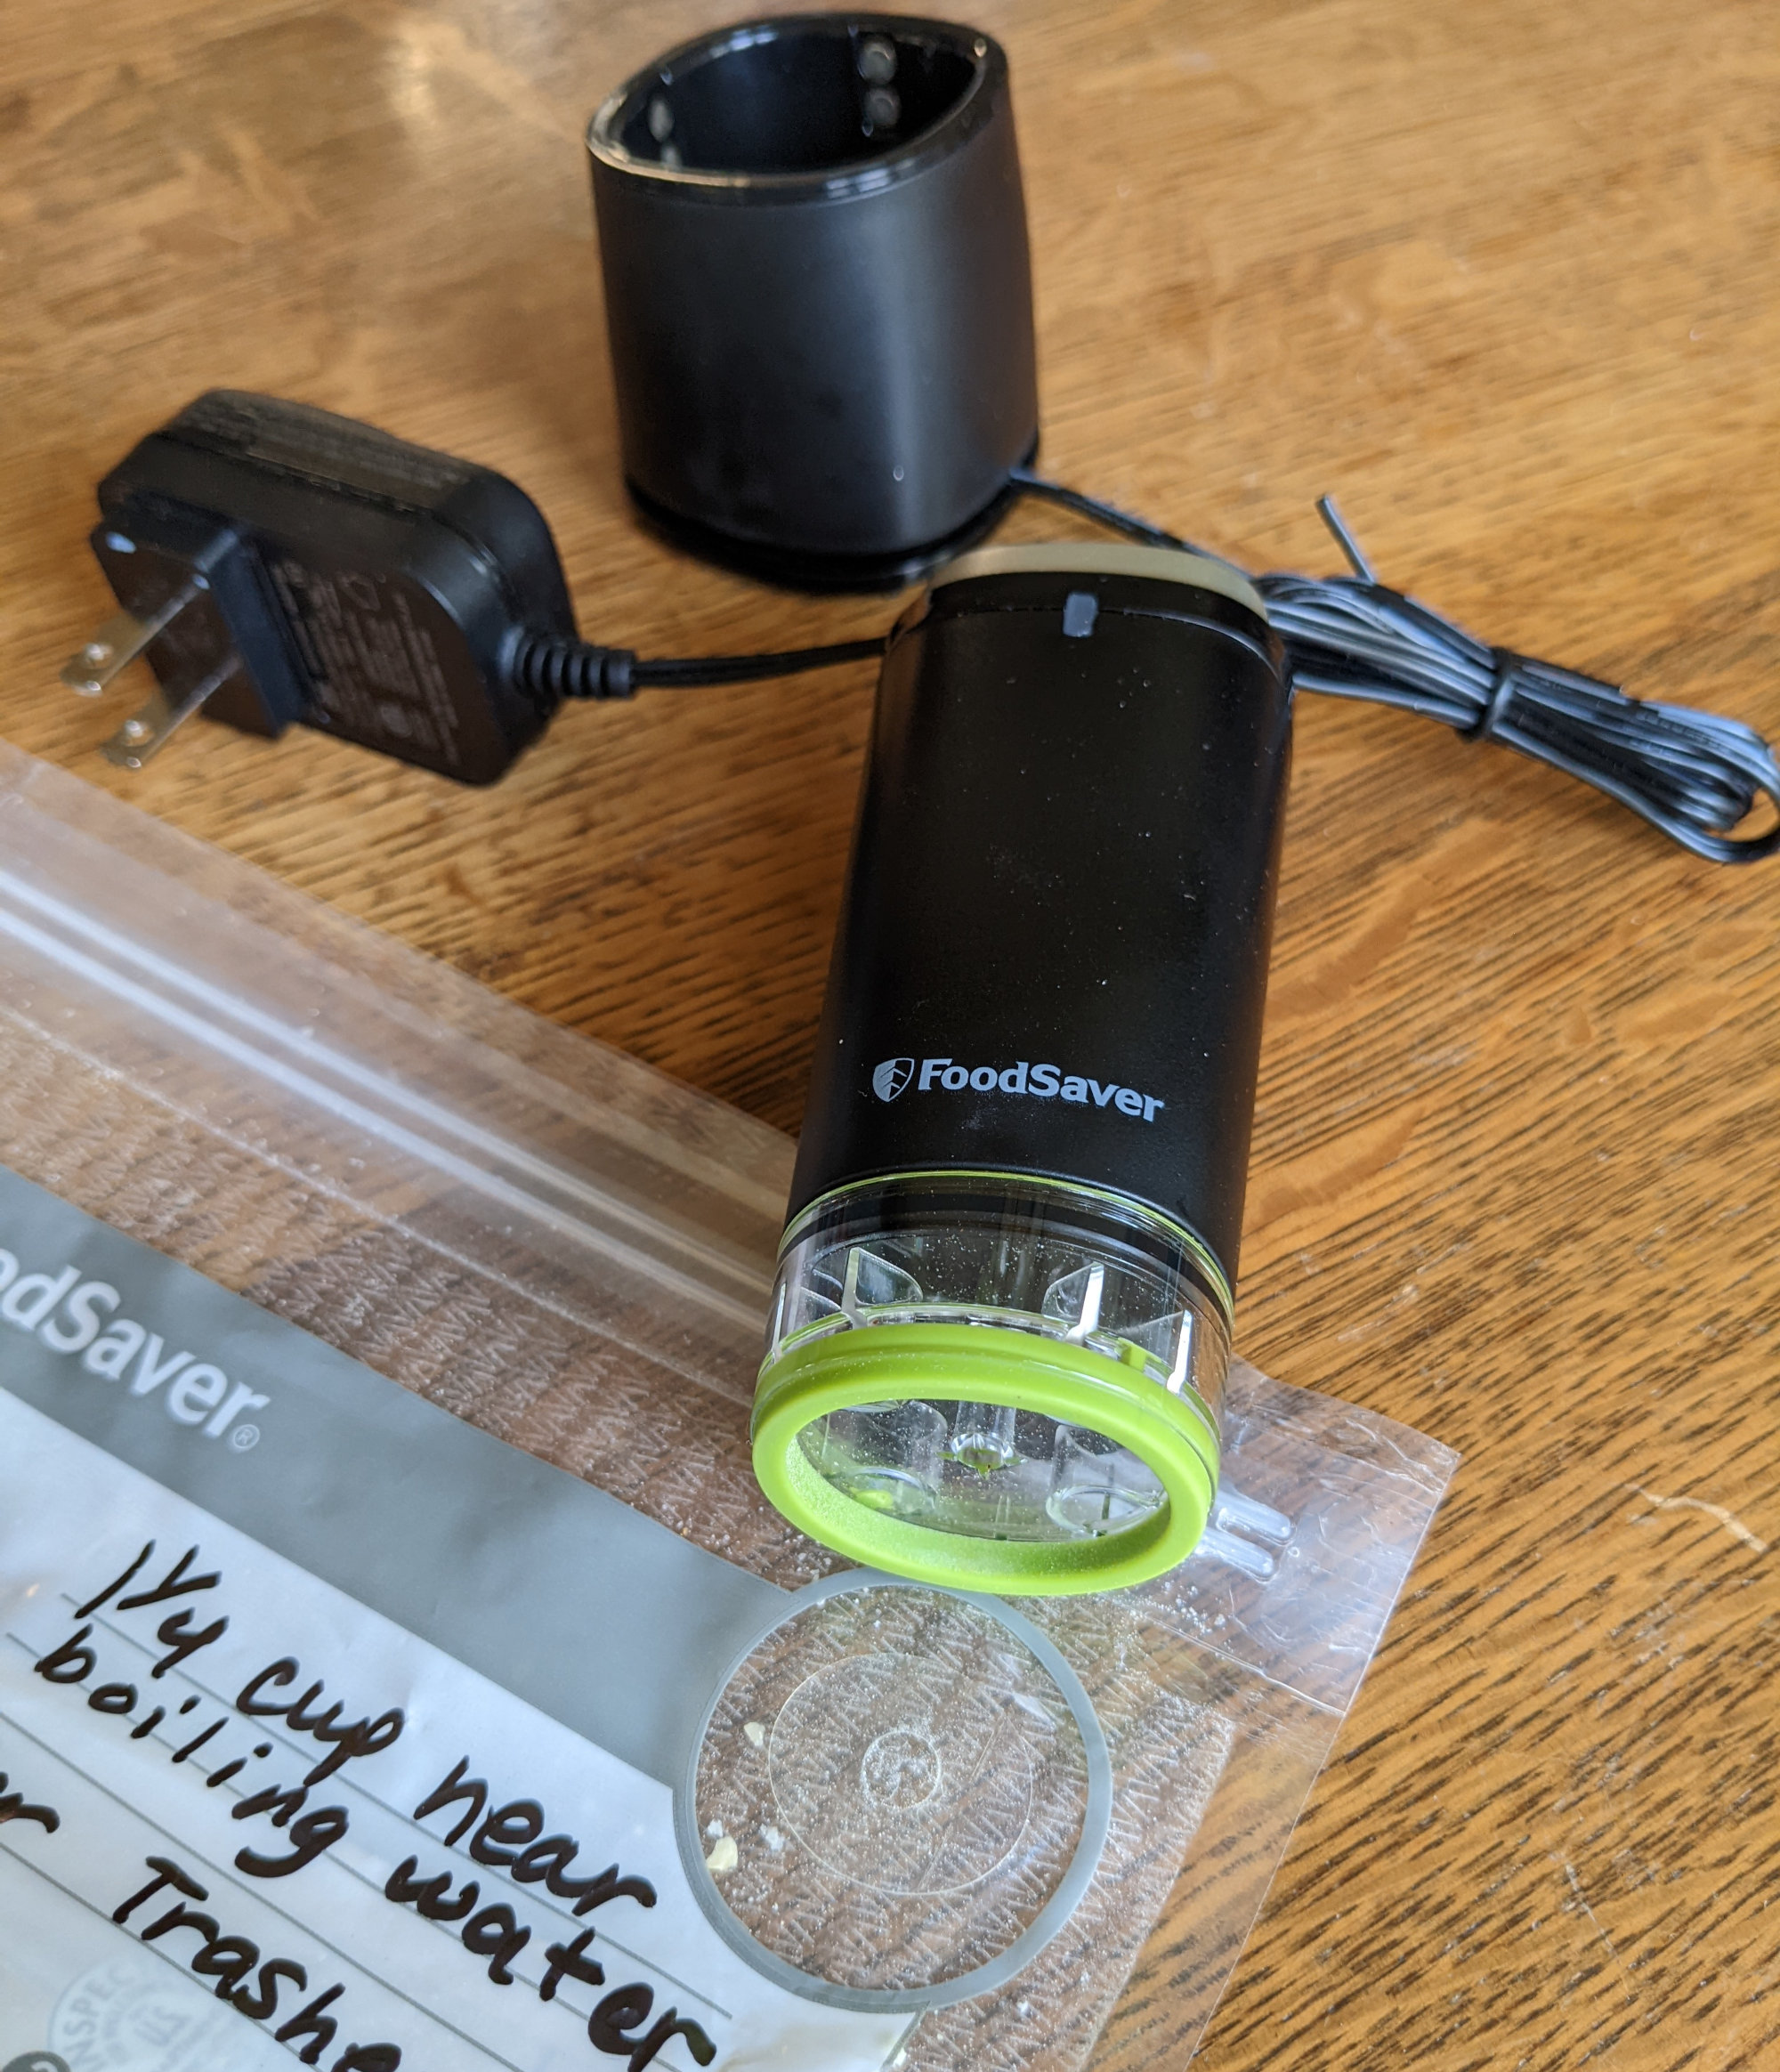
You could pour your dry ingredients into zip-loc baggies and use them to cook in, and I bet it would work fine. But, my wife found this very cool Foodsaver vacuum device. It is soooo fun!
Ingredients get placed in special zip-loc bags that also have a vacuum circle. After sealing the zip-loc part, the device is pressed on the circle and it sucks out all the air and lets none back in. So cool!
This reduces the space each bag takes up and it must help with storage time by removing the oxygen and whateve moisture is in the extra air. Even using a sealing device like this, I wouldn't assemble meals more than a month before using them. Once dried items are removed from their sealed manufacturer's container they start degrading.
Instructions
- Measure individual ingredients
- Pour ingredient into foodsaver bag
- Add any required single-serving packs needed (soy sauce, chicken, tuna, ...)
- Seal the zip-loc strip
- Vacuum out the air
- Put a piece of packing tape on bag, write the meal name, amount of water needed, and any other instructions on the tape
- Put another piece of tape over the writing so it doesn't smear
How Much Fuel?
Well, it doesn't get much easier than boiling water, but we can be efficient about even that simple task.
Each meal needs about 1.25 cups of water, but some are more or less.
Your stove needs a certain amount of fuel to boil 1 cup of water. You really should know what that is before heading out on an adventure.
Figure out how much fuel you need to carry from:
- How many ounces of fuel (F) are needed to boil a cup of water on your stove?
- How many people (P) are in your group?
- How many days (D) will you be on trail cooking?
- How many cups (C) of water need to be boiled for a meal? (typically 1.25 cups)
Ounces of Fuel Needed = F * P * D * C
This is fuel needed only for these meals. You may need more to heat water for breakfasts, washing, and whatever other needs you have.
Cooking
The real beauty of these meals the filling flavor you get with minimal cooking effort. It takes less than 30 minutes from opening your backpack to eating hot food.
- Set up your stove - anything from a tiny alcohol popcan stove to a two-burner propane stove works just since we're just heating water.
- Measure the appropriate amount of water into your cook pot. You can scratch measurement lines into your metal pot, or mark them on a water bottle, to eliminate the need for another container.
- Light the stove and place your pot of water on top, with a lid on it.
- While the water is heating, open any single serving packets in your meal bad and dump their contents into the bag.
- Set your meal bag in your cozy.
- If you are using potable, treated water, it's ready as soon as small bubbles rise from the bottom. If you use raw water, wait until it is a full, rolling boil, but there's no need to boil it for minutes.
- Pour the appropriate water into your food bag.
- Remove most of the air as you seal the bag's zip-loc.
- Shake, massage, stir, or knead the bag to mix the water well.
- Close the bag inside your cozy and wait. Place multiple cozies close together to retain heat. Wrap cozies in another insulating layer such as a fleece or t-shirt if the air temperature is cold. If you are cooking for 2 or 3 people, consider making a cozy that is a bit larger to hold 3 meal bags to really eliminate heat loss and reduce weight.
- Shake the cozies at about 5 minutes, and again at 10 minutes.
- By 15 minutes, the food should be completely rehydrated and still very hot. Eat it right out of the bag in the cozy so it stays warmer longer.
If you prefer, you can heat water, then dump ingredients from a meal bag into your pot, stir and simmer. This creates dishwashing, but you might prefer eating out of pot instead of bag. You can have individual bowls to serve the meal into if that sounds more civilized than eating out of a bag or pot, and you don't mind the extra cleaning.
To reduce weight even more, but also reduce flexibility, using a larger meal bag to hold 3 servings can work. All 3 people are forced to eat the same meal, but you have fewer plastic bags and more efficient heating. You'll want to have individual bowls to serve into if you do this.
Reusing
We've found these Foodsaver vacuum bags to be very sturdy and use them over and over.
- After eating, pour a little more warm water into the meal bag, swish it around, and drink it to clean out nearly all the food bits. Think of this as a second soup course.
- Roll the bag up and seal it closed.
- Keep all your dirty bags in a rolled up bundle with a rubber band and place that inside a quart sized zip-loc baggie to isolate it.
- Back at home, remove the taped on label, wash and dry the bags for the next use.
Limitations
This system works great on treks where you can carry all your food from the start. This would be any backpacking or long hike up to about 2 weeks. Longer than that, and people tend to resupply along the way. Then, what to do with the used bags is a challenge, with the food bits decaying inside them.
A Few Recipes
It's very easy to put together ingredients in whatever combinations sound good to you, but here are a few examples of meals that we've enjoyed. All the freeze-dried and TVP items were purchased from Mother Earth Products.
Just add about 1 1/4 cup hot water to each one.
Lentil Chili
- 2/3 C freeze-dried Lentils
- 1/2 C TVP Beef Crumbles
- 1/4 C freeze-dried Corn
- 1/4 C freeze-dried Peas
- 1 Tbsp Chili Seasoning
Chicken Curry Rice
- 1 C Instant Rice
- 1/2 C TVP Chicken crumbles
- 2 Tbsp Golden Raisins
- 2 Tbsp crushed dried Apples
- 2 tsp dried Onion
- 1 tsp Butter Powder
- 1 tsp Curry Powder
- 1/8 tsp ground Allspice
- 1/8 tsp ground Cinnamon
- 2 Tbsp crushed walnuts
Healthy Bowl
- 3/4 C Instant Rice
- 1/4 C freeze-dried Lentils
- 1/4 C diced Almonds
- 1/4 C dried Cranberries
- 1 tsp vegetable boullion
- 1/4 tsp tumeric powder
- 1 pinch salt
Pesto Veggie Pasta
- 1 pkg ramen noodles (not spices)
- 1/2 C TVP
- 1 Tbsp dry Pesto mix
- 2 Tbsp dried mushrooms
- 1/4 C dry, grated parmesan cheese
- 1/4 C freeze-dried mixed vegetables
10/11/2022

With my new multi-day hiking partner (my wife) preferring hot dinner meals and insisting on hot coffee in the morning, I'm resigned to carrying a stove again. That means a pot, windscreen, and fuel, too. The fuel is heavy so I want to be as efficient with it as I can.
We're just boiling water and adding it to dehydrated food, so the two points of efficiency are preventing the flame heat from escaping and then preventing the heat in the water from escaping.
A super light aluminum foil windscreen helps with the first. It prevents wind from blowing the heat away and lets it reach the water better.
To prevent lose of heat from the water, we're using new cozies. Rather than pouring the dried food into the water in the pot and letting it rehydrate while simmering for 15 minutes, a food cozy rehydrates the food and keeps it hot without using extra fuel. Plus, it means no clean up of the pot is needed. And, if you just eat out of the bags, the only dirty item is your spoon. (We take our food bags home dirty, wash them, and use them multiple times.)
Once the water is boiling, we turn off the stove, pour the hot water into the food bag that is inside the food cozy, stir it up, and let it sit for 15 minutes.
Even at near freezing temps, the rehydrated food is still too hot to eat. But, you could put the cozies together and wrap in another insulating layer such as a shirt, stocking hat, or sleeping bag - even better, hold it against your body under your clothes!
These food cozies are very easy and inexpensive to make. I've shared the steps with photos for our New, Improved Food Cozy and hope you have fun making your own.
PS: On our recent Border Route Trail hike, we took two 100 gram canisters and had about 35 grams left in one at the end. I think we used more fuel than necessary, so I'm working on a better windscreen design. Also, one larger canister has a better fuel to packaging ratio and that would save some pack weight.
Hike On!
Posted: 10/11/2022
10/07/2022
Anyway, it was a great trip with a lot of solitude in the first half and lots of people the second half.
Please read my Border Route Trail Info page, or jump right to the BRT Journal page.
Hike On!
Posted: 10/07/2022
Older Posts Newer Posts
Find more Hiking Resources at www.HikingDude.com


Follow Me
Recent Comments